So as a follow up experiment with paper mache, I have decided to make a trench system. Actually, its not so much a trench system as a modular fortification system. I say this because the walls only go up to a trooper waist (so line of sight can be drawn in both Warmachine and Warhammer). Anyway, before making a full trench (ish) system, I decided to do 3 peices as a prototype. Its a good thing too, because so far the whole thing has been littered with mistakes and regrets. Hopefully the 3 I am doing now turn out slightly good, so that the rest can be much better.
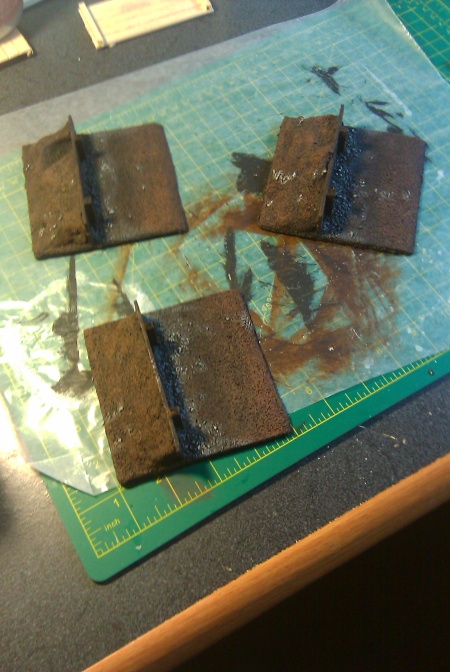
I started out cutting the masonite bases 4″ by 4″. I only beveled 1 edge (1st mistake). Using some basswood rods (I think 3/16″) and popsicle sticks, I made my trench walls. Hot glue attached them together.
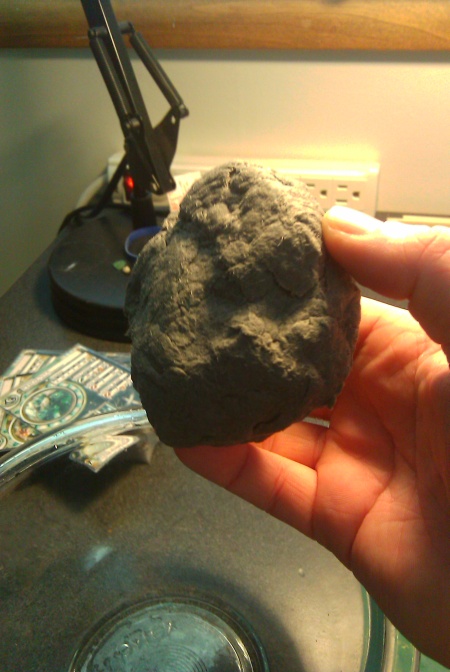
Next I mixed up my paper mache. Now, in an effort to not repeat my previous mistake, I made another mistake. I did not drain enough water from the last batch of paper mache, and it was way too wet and unruly. This time, I drained almost all of the water from the paper mache. The result? It was very difficult to work with. As it is drying, I question its durability.
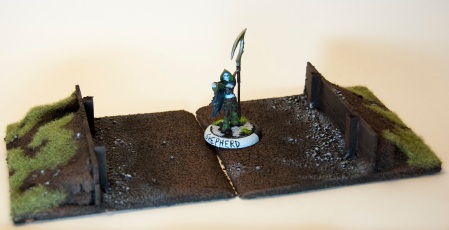
After applying the paper mache to the base, it looks mediocre. I am hoping it looks better after drying. The last bit I made didn’t look all that great until after it was sanded either. Here you can see how they work together to create a nice system
I am going to try and not include too many minor details here. My process hasn’t really changed from my previous terrain articles. Once the mache dries, I coat will kitty litter and sand for texture. I did do something new here. After the sand dried, I applied another layer of glue ontop of the terrain for added durability. The extra strenght was really apparent in the final product.
Next was my standard paint job:
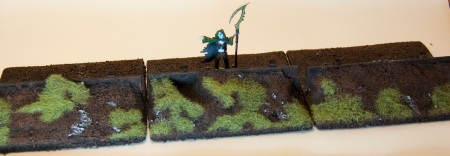
Finally, I add the static grass and consider it done.
These are actually alot of fun to do and use. I may make another tutorial covering making corner pieces or bends for the trenches. Another great learning experience for me. Now that the prototypes are done, I can start mass producing. Oh, I almost forgot the bottom line (I am cheap, remember?). Given that I found a cheap piece of masonite, I can make roughly 20 of these pieces for $10; maybe a little less depending on glue prices. Thanks for reading!


