Archive for the ‘Miniatures’ Category

Hello again everyone. As promised, here is my guide on magnetizing the Furioso Dreadnought from the Space Marines: Blood Angels Codex. The furioso is a titan on the battlefield and I have had great success. The problem is that the kit comes with so many goodies, it is impossible to choose a layout. Therefore: this guide. In many sections of this article I use something called core steel. Core steel is specifically engineered for its magnetic properties. It is also hard to find. With that in mind, anywhere I use core steel, you can use plasticard and a magnet. It will work the same. If you are interested in acquiring some core steel, send me a message. I magnetized 3 parts of the dreadnought which I will show you. I have not magnetized (or even attached yet) the under arm guns. I am playing with the idea of not magnetizing them as I always take the default loadout. If I do decide to magnetize them, I will do a second post on it (it looks easy enough anyway, just 4 1/16 magnets). Anyway, here goes:

Torso

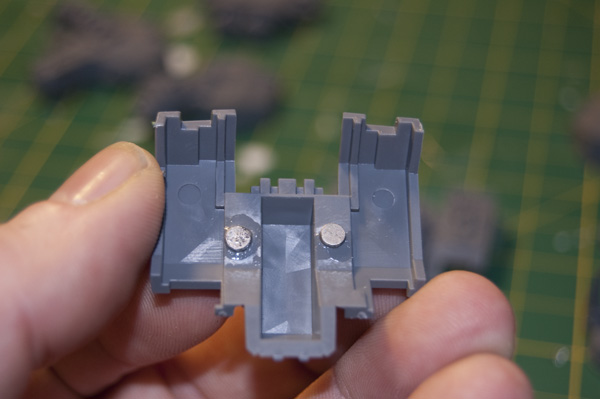
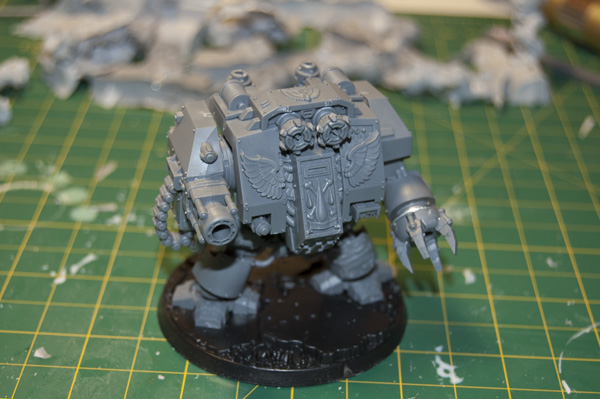
When building your dreadnought (from now one, simply DN),be sure to put two 1/8″ magnets on the top piece (underside) near the back. That will be for the magna grapple later. When placing them, try to match it to the divets on the magna grapple. When building the torso do not glue the face plate on. Be sure to put the faceplate in place so the body glues together correctly, but be sure you can remove the faceplate afterwards.Once the torso “box” is dried, I glued a strip of core steel across the front (this will be for the face plates). You can sub in a piece of plasticard with 1/8″ magnets instead).
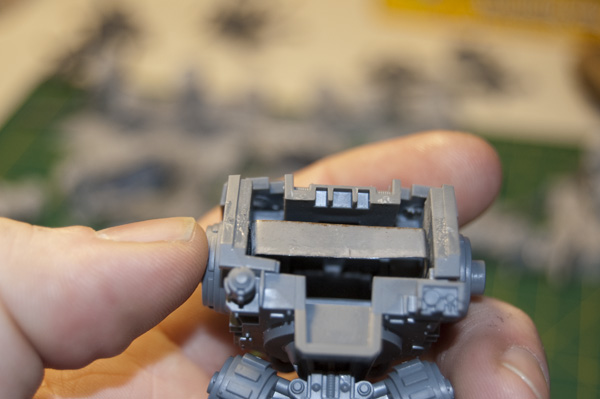
Looking in the picture above, you can make out the magnets in the back for the magna grapple. Sorry they are so hard to see. I put this together and then decided to take pictures. This is all the modification we need to make to the torso.

Faceplates

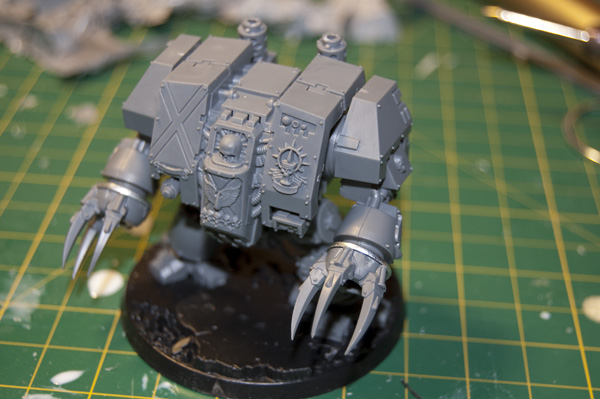
The faceplates are super easy. I just put two 1/8″ magnets on the backside of the faceplates that lined up with the core steel band, and done!

Now your DN can have any of the three faceplates at any time.

Magna Grapple

Another easy job here. Since we already have the magnets inside, we just need to match the polarity and attach magnets to the grapple.
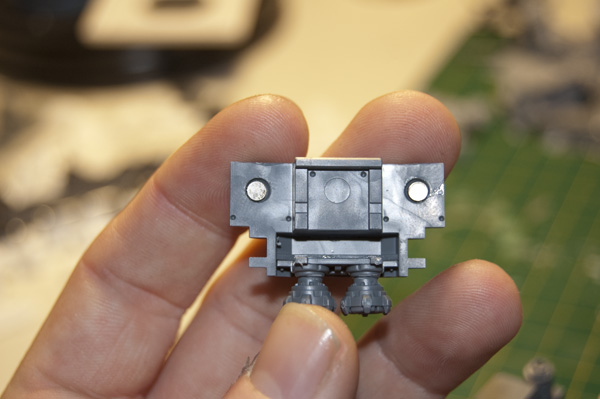
The magna grapple already comes with 2 divets in it, and it makes the perfect place to put the magnets. You may need to drill a little bit, but not too deep. After that, the piece just snaps on all perfect and such. Notice how those sneaky people at GW made it so that the magna grapple wouldn’t fit on when the librarian faceplate was on. Clever.

Arms

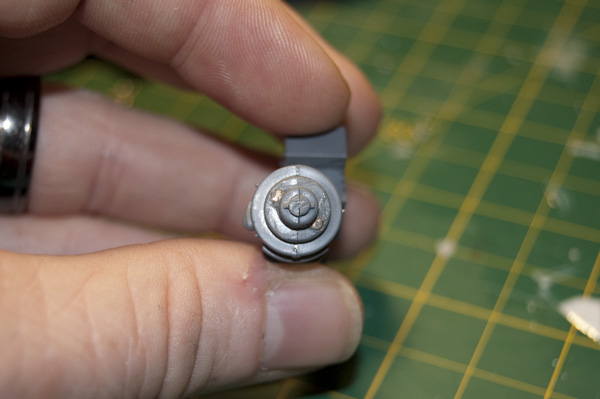
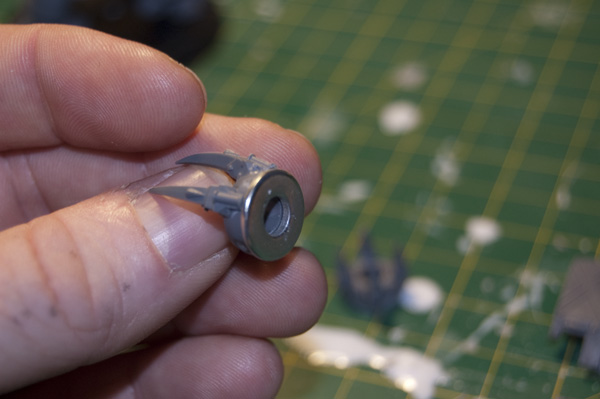
Interestingly, the arms go on and off just fine without magnets, so that makes it easy. If yours do not fit on, then you just need to glue 1/8″ magnets inside the arm (sticky tack is your friend here, just sticky a magnet to the end of a thin tool and push it into the arm hole) and put a 1/8″ magnet on the arm stub of the torso. Like I said though, I didn’t need to. The librarian arm and the flak cannon are complete without any need to change. When making your “hands” you will notice there aren’t enough “thumbs” to make both “hands”. What I did is just make the close combat weapons with the 4 short fingers and the blood talons with 3 claws (ignoring the extra slot). It isn’t perfect, but it doesn’t incur any more cost. Then, if you notice, the hands and hole are the perfect dimensions of 1/4″ steel washers. Go get some of them (I’ll wait). When you get back, glue them onto the hands. Then, on the arm stubs, glue two 1/6″ magnets and watch and the hands snap into place perfectly. Now you can swap them out with ease.


And that’s it! Like I said before, I have not made a decision about the under arm guns. If I do add them, it will be in a second article. Enjoy!

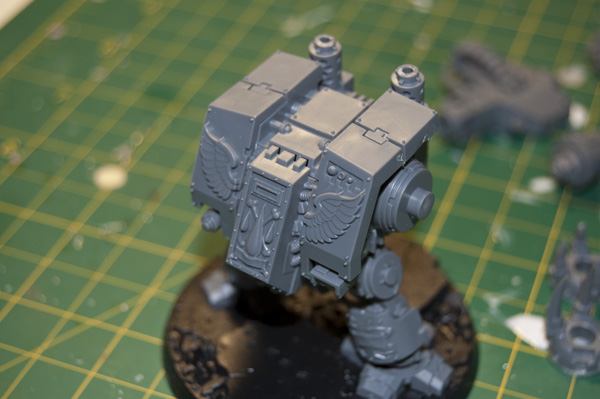
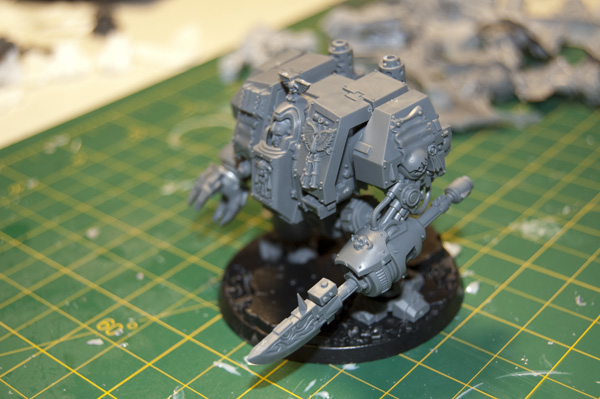
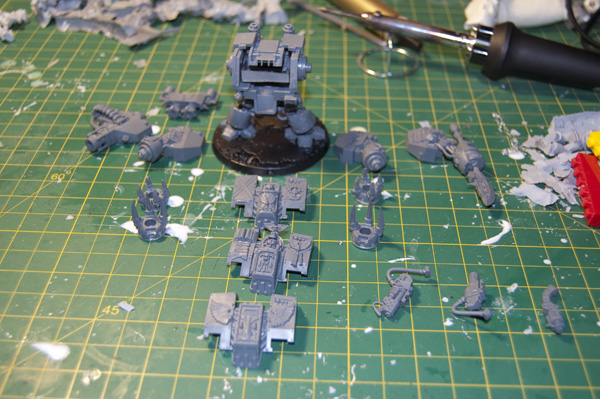
Here are some pics of my assembled DNs
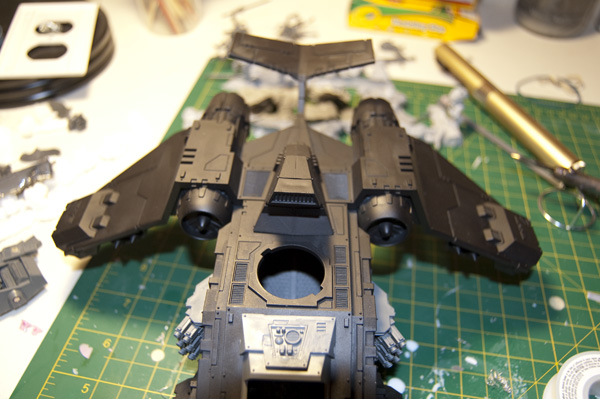
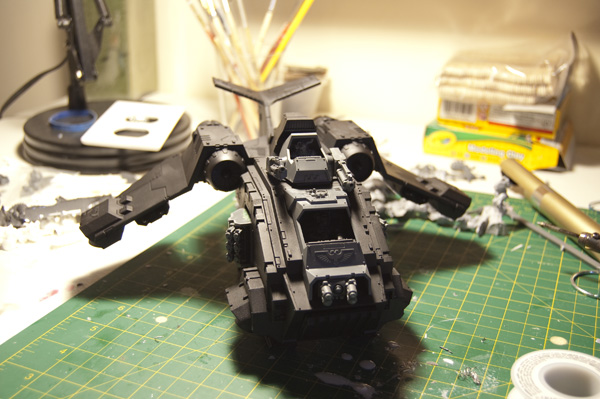
Hello everyone, its been a while. I figured I would come back strong. In case you don’t know (not sure how you found this article then), the Stormraven is the new Blood Angel and Grey Knight flying transport. It has a huge hauling capacity (12 men and a dreadnought) and a crazy amount of firepower. Unless you are very sure of yourself and all of your future endeavors, picking a single load out and gluing into place seems silly. That is why I am going to be showing you how to magnetize the Stormraven for maximum awesomeness. In many sections of this article I use something called core steel. Core steel is specifically engineered for its magnetic properties. It is also hard to find. With that in mind, anywhere I use core steel, you can use plasticard and a magnet. It will work the same. If you are interested in acquiring some core steel, send me a message. There are 4 areas that I customized and I will show them in the order that I did them.
The Wings

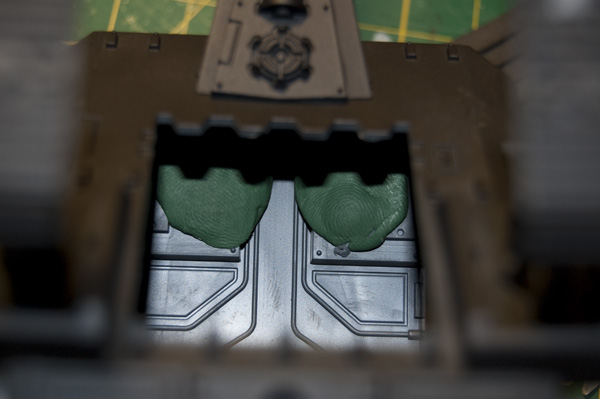
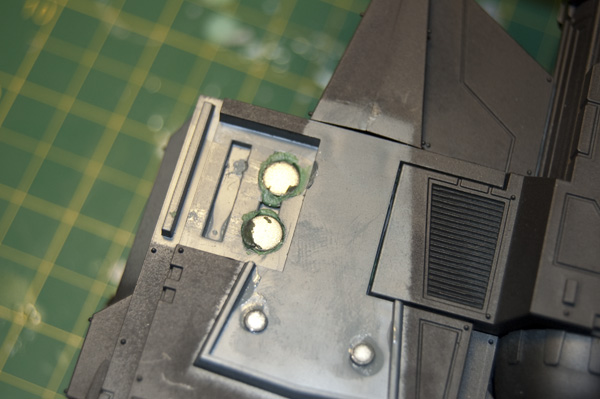
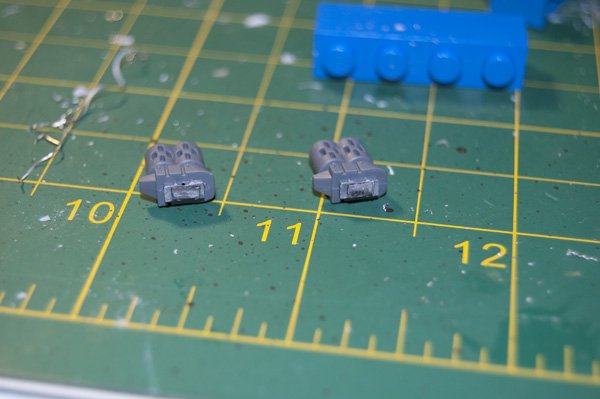
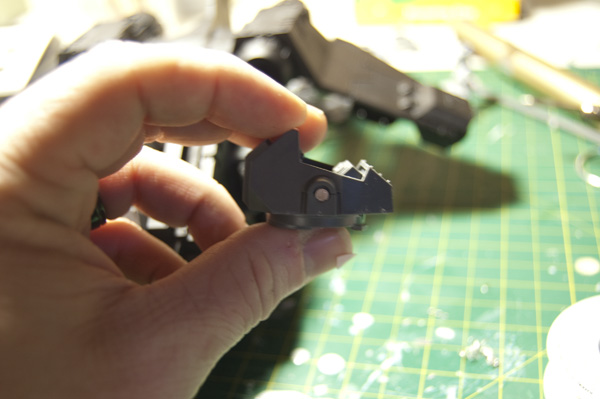
I chose to magnetize the wings because I wanted to be able to fit the Stormraven in my foam trays. Gluing the wings into place ensured that I had to make a large, goofy tray to store it. The first thing I did was to drill two .25″ holes on each side of the Stormraven chassis. I drilled straight through. Then, using greenstuff, I made a backing to the holes inside of the body. When it is all said and done, the greenstuff is incredibly difficult the spot (so don’t worry about it making the model look bad).I then glued .25″ magnets into the holes.

Make sure everything is flush before letting it dry. I then put a piece of core steel into the square divot in the wing. This could have also been done with 3-4 1/8″ magnets. Once that dried, the wing stayed on perfectly. The bond was so strong I could turn the SR upside down without the wings moving at all.

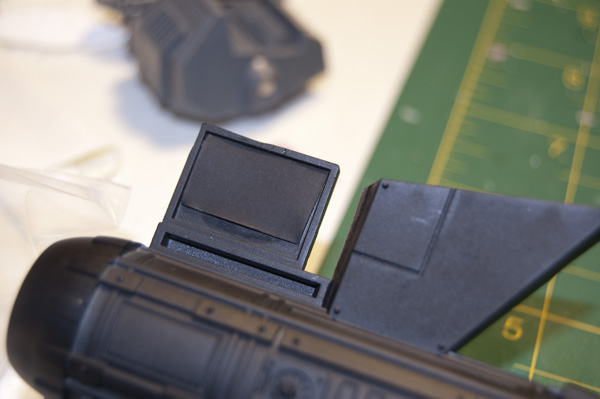
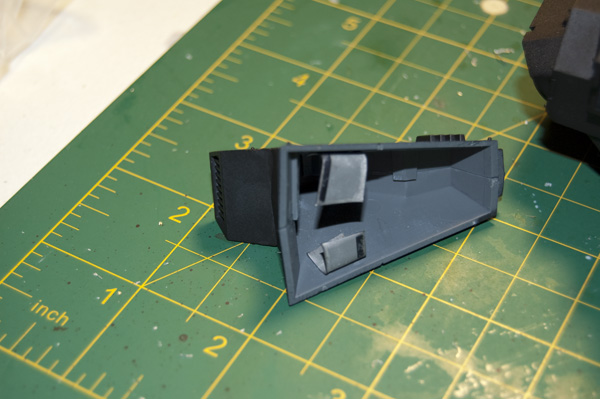
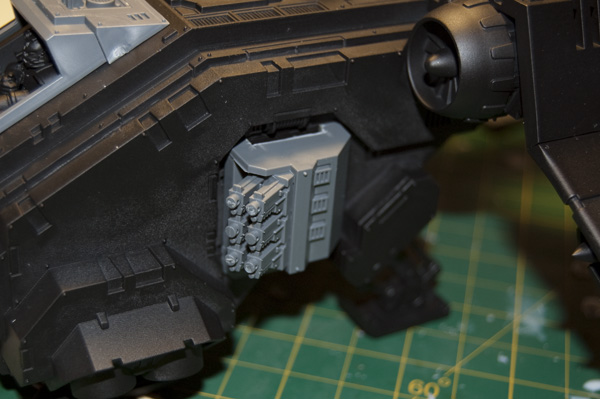
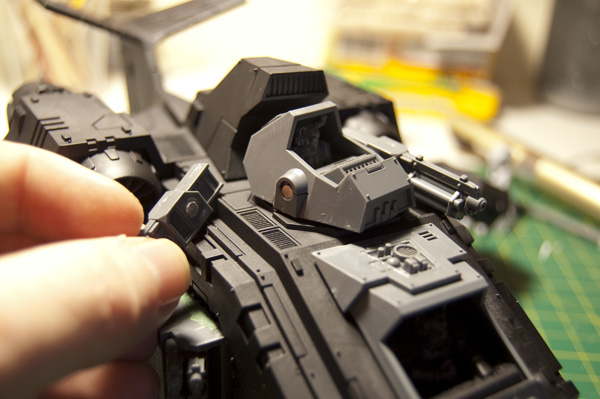
After dealing with the wings, there was the air vent to take care of. If you look 2 pictures up, you will see the two 1/8″  magnets I glued to the body of the SR. I then bent some core steel in a n “L” and glued it to the inside of the air vent. This could also have been done with plasticard and another magnet.

Hurricane Bolters

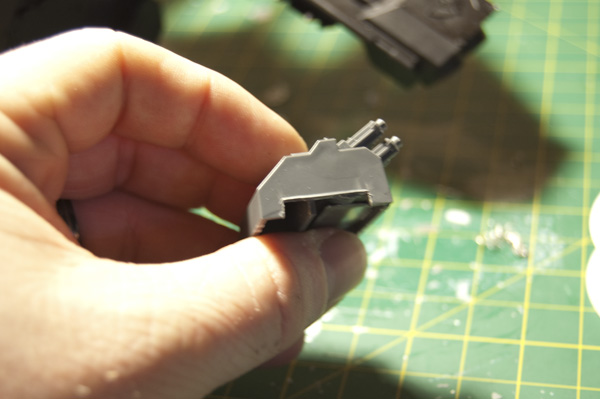
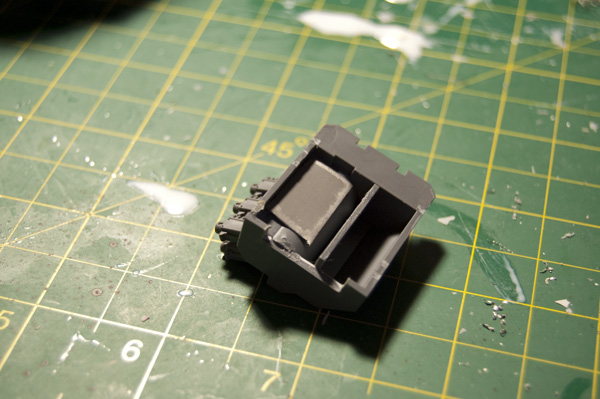
The hurricane bolters weren’t nearly as difficult as I originally assumed. This Video covers it nicely. First, you assemble the hurricane bolters. When they are all together, you cut off the small tabs. Then you line up one of the doors and mark a notch where the top of the door protrudes. Once that is done, everything should fit flush together. Put a magnets on the inside of the door and glue it into place. On the HB, put a piece of core steel or another magnet. If done correctly, the HB should stick to the door and you can chose to leave it on or take it off.

Front Guns

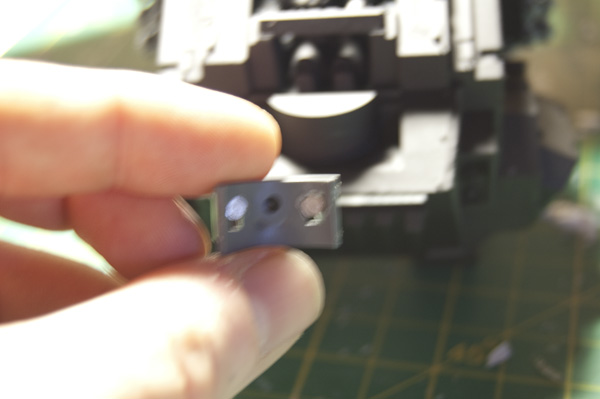
The front guns of the SR can be very tricky. Depending on your kit, you may not even need to magnetize because the pieces will just fit snuggly together. I had a single piece that was loose, so I had to magnetize the whole thing (though it was pretty easy). On the back of the plate that holds the front weapons, I drilled 2 1/8″ holes and glued in 2 1/8″ magnets.

I then trimmed down the pegs on all of the weapons (about halfway) and glued a piece of core steel on the end. You can get by with 1/16″ magnets if you don’t have core steel.

The pieces now fit snug and are easy to switch out.

The Main Turret

The last bit of magnetizing I did. The main turret originally looked challenging. I wanted to retain the articulate of the guns that the rod gave you. Eventually though, I stopped caring and did a basic job on it. I am happy with my decision (and I kept the rod unharmed in case I get any future bright ideas). Assemble the turret body without the rod in it, and you will notice an almost perfect 1/8″ hole. If you guessed that we are going to put a 1/8″ magnet in there, you guessed right. The weapons have a square notch in them. Without assembling the weapons (in case something goes wrong), drill a 1/8″ hole directly over the square notch (don’t go all the way through, the plastic is thick and you shouldn’t have to). Put in a 1/8″ magnet and your done!

And that’s it! You have a kick-ass Stormraven with gobs of potential. Just try not to make people cry too hard. Coming up next, I will show you how to magnetize the Furioso Dreadnought

Eye candy:

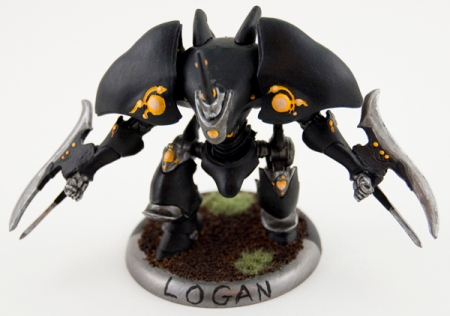
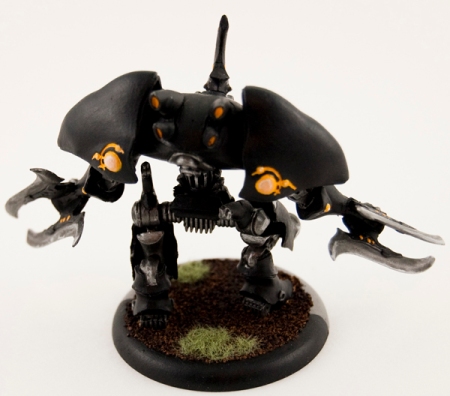
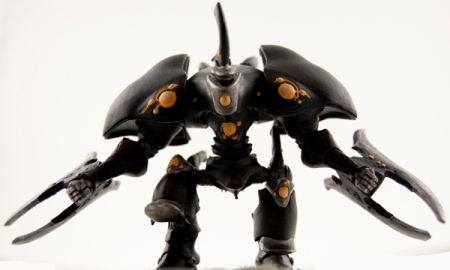
So I just finished my Manticore for the “A Tale of Warmahordes” painting challenge on the Privateer Forums. This is the first jack I have done for the Retribution of Scyrah, and so far I am digging the theme. The jack meshes very well with my sentinels color theme. I took the normal front and back pictures, and then I added an angled pic because it looked menacing! Check it out:

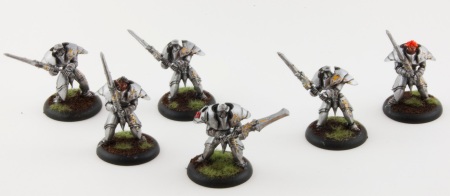
So here is my first painted RoS models. The scheme was stolen (borrowed heavily) from Larkin Vain. So far, only a min unit, but the rest are soon to come.

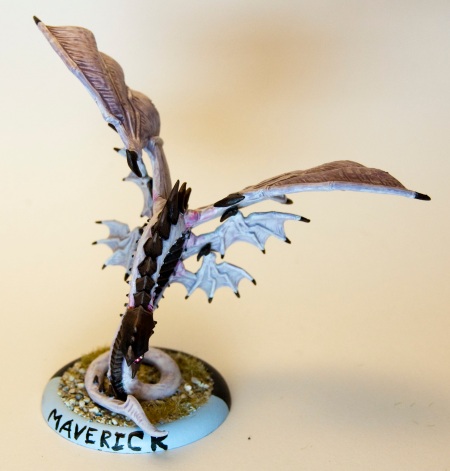
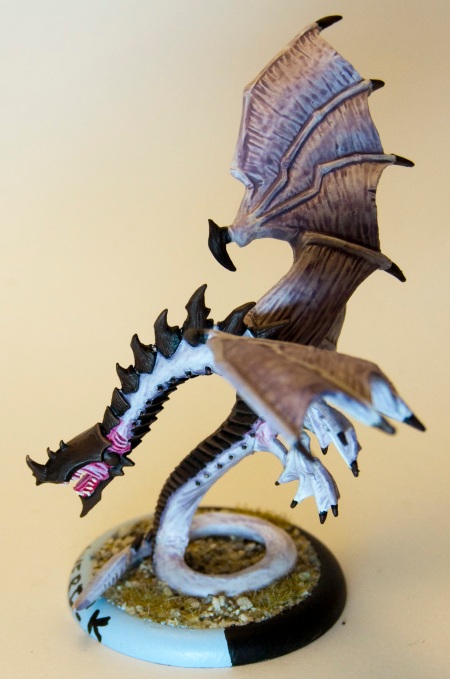
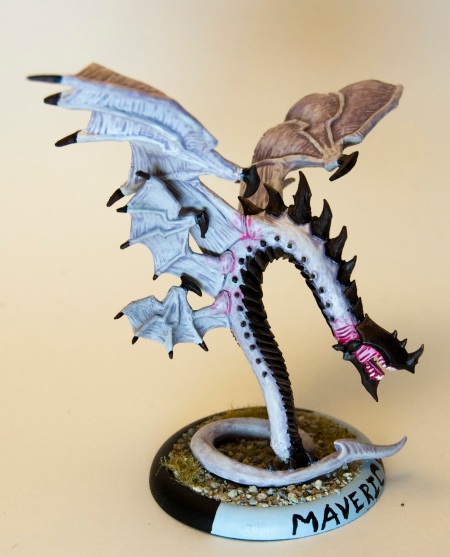
Here are some pics of the Angelius I finished a little while ago. I really need to work on my greenstuff-ing as the joint lines on this guy are terrible. You may notice that his name is Maverick. I have decided to name my four big fliers after Top Gun: Maverick, Ice Man, Goose, and Jester.

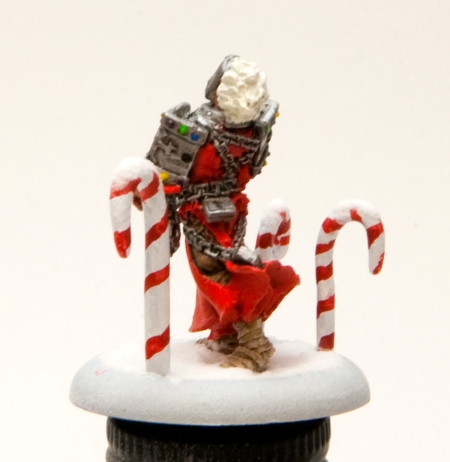
So this year the PGs are doing a christmas minitature exchange. Here is the Vassal I did for my “secret buddy”:

Merry Christmas!

Rhyas

Posted: October 2, 2010 in Hordes, Legion of Everblight, Miniatures, Pictures

Well, I finally finished Rhyas. I think I did a good job on her, but one thing that is apparent is that without a tripod, I suck at taking pictures. I may retake them at a later date, but for now, these will do. I have attempted to adhere closely to the studio paint scheme because I really like it, though I do have troubles with the cloth coloring.

I figured I would take the time to post the pictures of my painted Legions models. Hopefully, having some online images (and hopefully some motivational comments) I will pick up the pace and get the rest of my army painted. I have a long way to go. I currently have about 2,000 points of legion and only these few models painted. It’s going to be a long road.

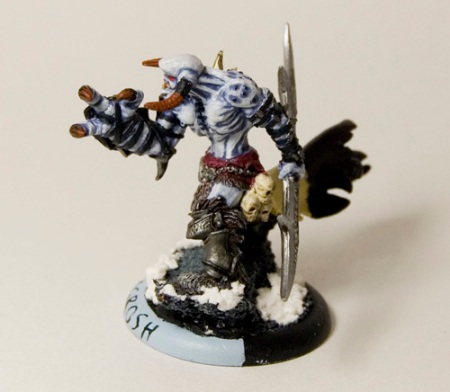
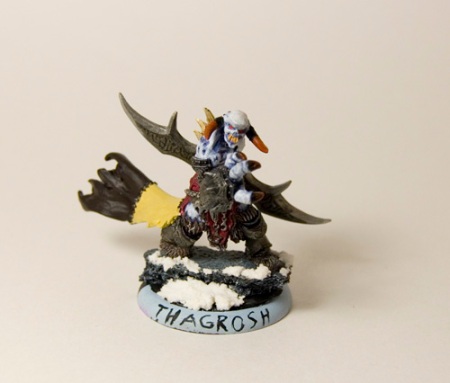
Thagrosh was my attempt to do an “awesome” and “gaunt” shading. About halfway through I got impatient though and rushed to get him finished. I see him as both being really kewl and also as a serious loss of potential

Thagrosh2Thagrosh1

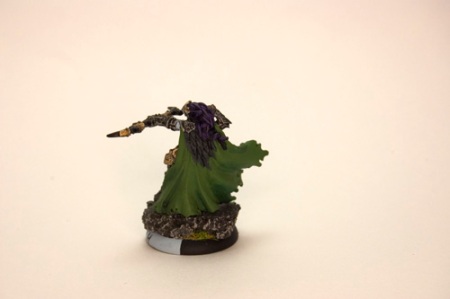
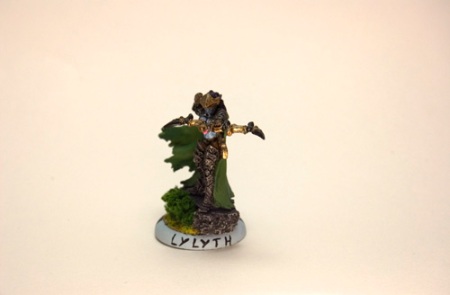
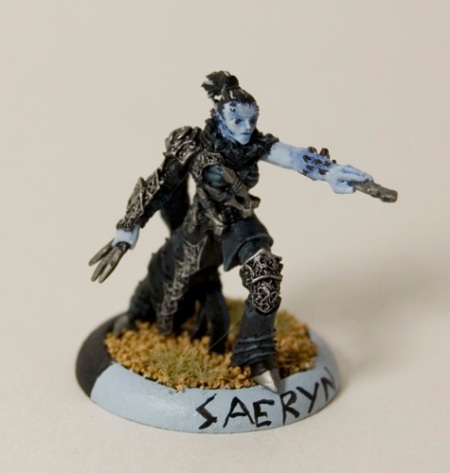
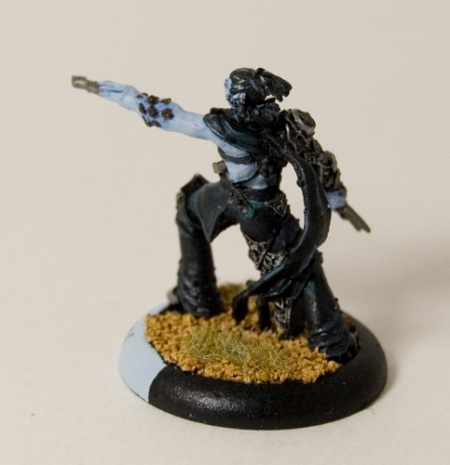
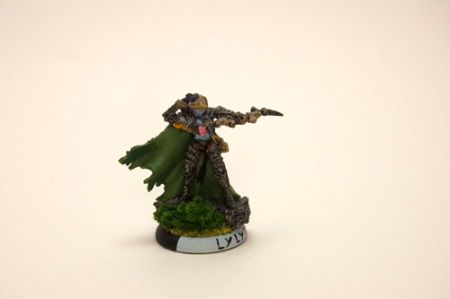
Of course, Thagrosh the Pimp would be nothign without his “hoes”, so next is Lylyth and Saeryn. Two more quick jobs on my part. Noth sure if you can see it in the picture, but I gave Lylyth a hot pink shirt with a purple heart on it.

Lylyth_3Lylyth_2Lylyth_1

Saeryn1Saeryn2

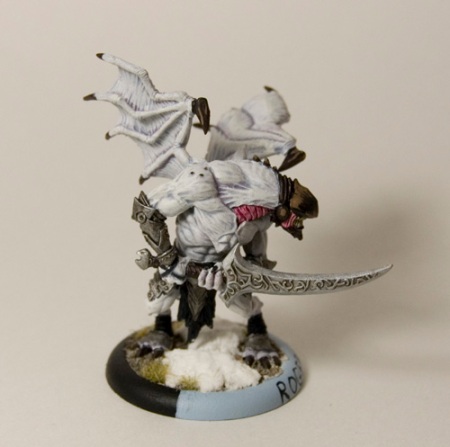
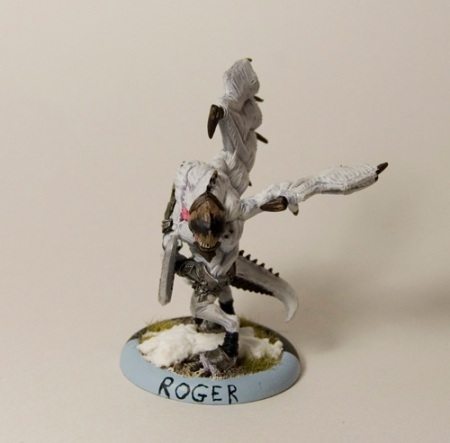
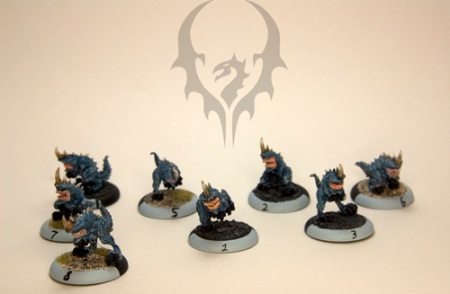
Now personally, I believe the Nephilim Soldier (Roger) is the best paint job I have done to date. It might be because it was so simple and I didn’t have a chance to get bored with it and rush something. You will notice that my Nephilim Soldier is named Roger. That is something I started doing with my “non-characters”. I started by labeling my shredders with numbers from 1 to 8. I decided that it kind of sucked for things like my two Carniveans, however, so I decided to name my beasts instead. My wife got to name my Nephilim, and thus Roger the Nephilim Soldier was born. I currently have 2 half painted Carniveans named Klaus and Panzer…

Nephilim2Nephilim1

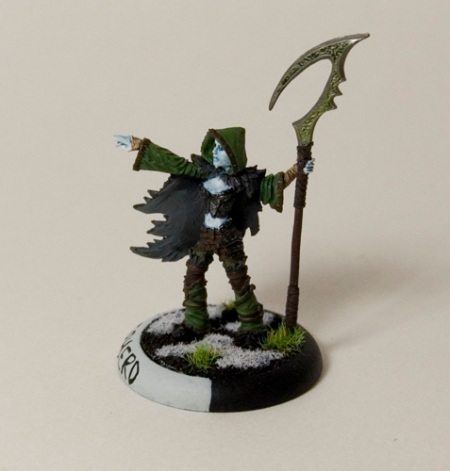
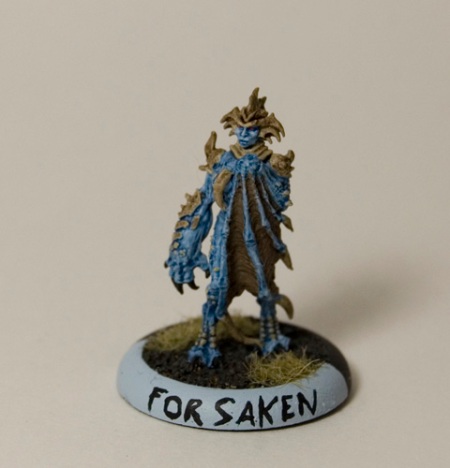
Finally, what Legion army would be complete without a Shephard, Forsaken, and a ton-o-Shredders?

ShephardForsakenShredders_group_1

Coming up soon (hopefully) will be Typhon, a couple of carniveans, and eThagrosh. We will see how long that take me :)