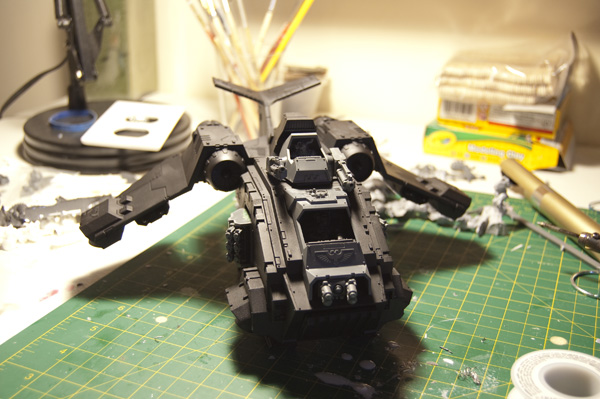
Hello everyone, its been a while. I figured I would come back strong. In case you don’t know (not sure how you found this article then), the Stormraven is the new Blood Angel and Grey Knight flying transport. It has a huge hauling capacity (12 men and a dreadnought) and a crazy amount of firepower. Unless you are very sure of yourself and all of your future endeavors, picking a single load out and gluing into place seems silly. That is why I am going to be showing you how to magnetize the Stormraven for maximum awesomeness. In many sections of this article I use something called core steel. Core steel is specifically engineered for its magnetic properties. It is also hard to find. With that in mind, anywhere I use core steel, you can use plasticard and a magnet. It will work the same. If you are interested in acquiring some core steel, send me a message. There are 4 areas that I customized and I will show them in the order that I did them.
The Wings
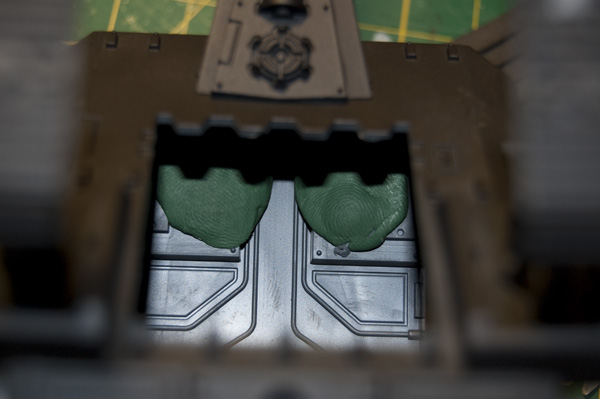
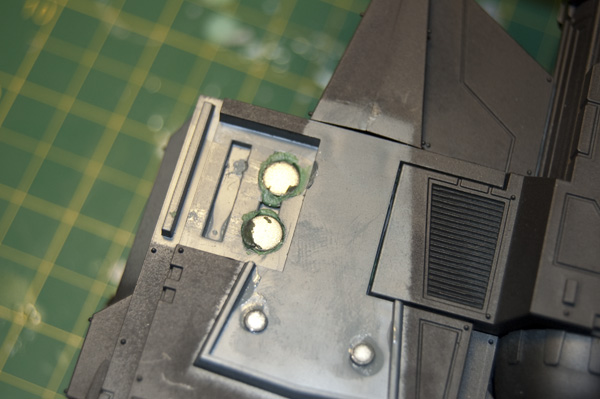
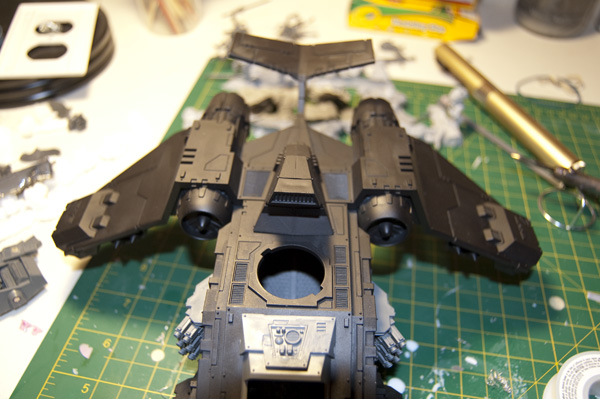
I chose to magnetize the wings because I wanted to be able to fit the Stormraven in my foam trays. Gluing the wings into place ensured that I had to make a large, goofy tray to store it. The first thing I did was to drill two .25″ holes on each side of the Stormraven chassis. I drilled straight through. Then, using greenstuff, I made a backing to the holes inside of the body. When it is all said and done, the greenstuff is incredibly difficult the spot (so don’t worry about it making the model look bad).I then glued .25″ magnets into the holes.
Make sure everything is flush before letting it dry. I then put a piece of core steel into the square divot in the wing. This could have also been done with 3-4 1/8″ magnets. Once that dried, the wing stayed on perfectly. The bond was so strong I could turn the SR upside down without the wings moving at all.
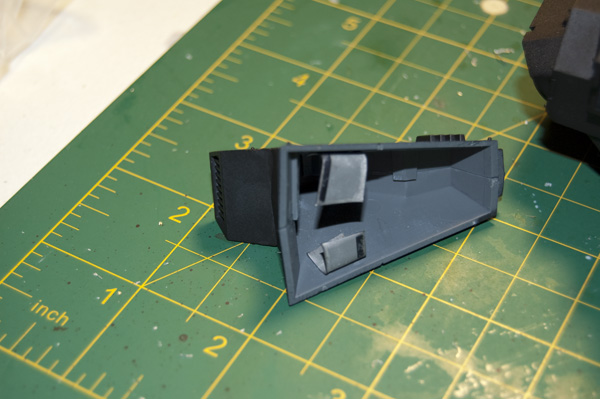
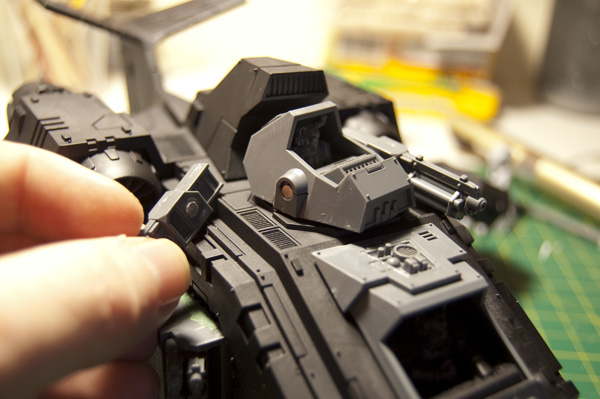
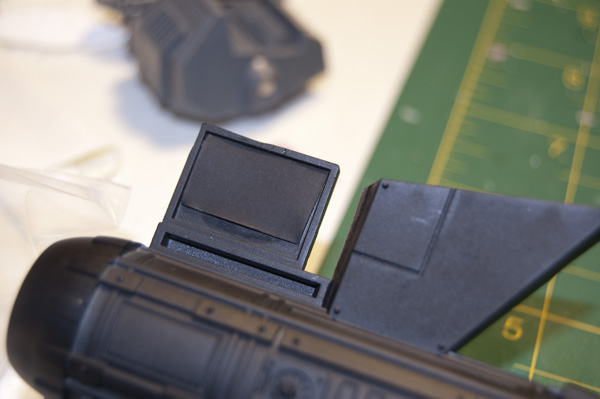 After dealing with the wings, there was the air vent to take care of. If you look 2 pictures up, you will see the two 1/8″ magnets I glued to the body of the SR. I then bent some core steel in a n “L” and glued it to the inside of the air vent. This could also have been done with plasticard and another magnet.
Hurricane Bolters
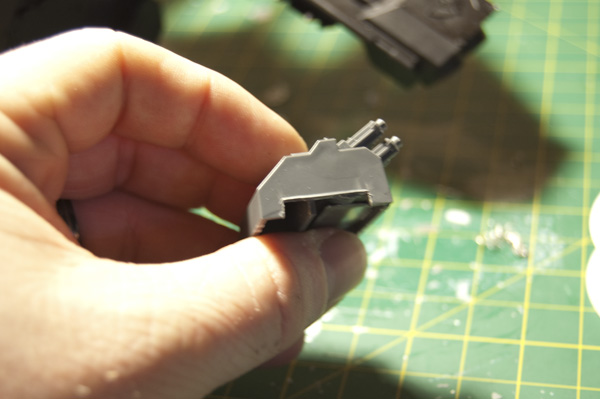
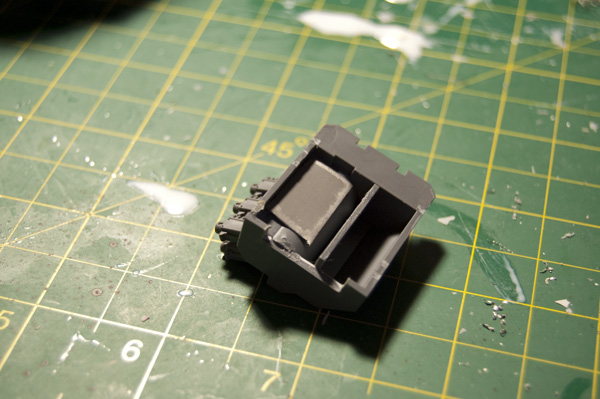
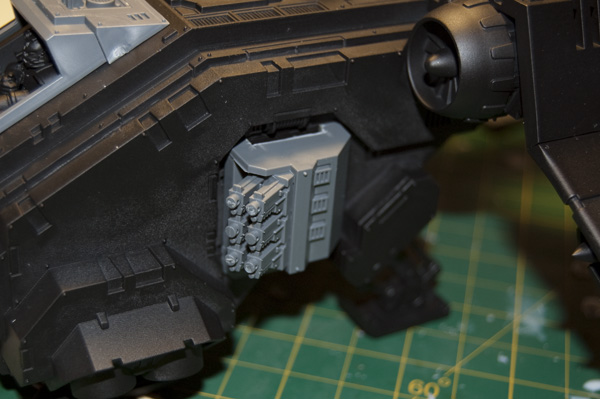
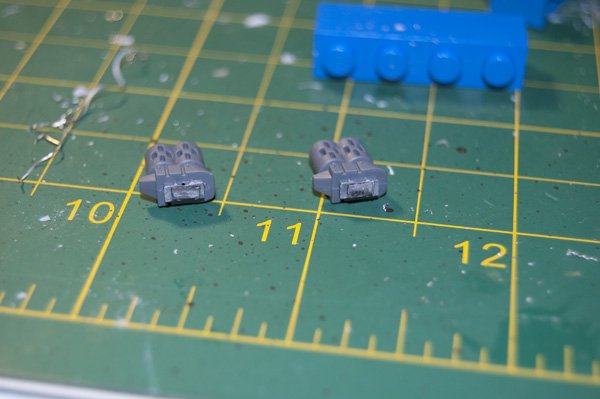
The hurricane bolters weren’t nearly as difficult as I originally assumed. This Video covers it nicely. First, you assemble the hurricane bolters. When they are all together, you cut off the small tabs. Then you line up one of the doors and mark a notch where the top of the door protrudes. Once that is done, everything should fit flush together. Put a magnets on the inside of the door and glue it into place. On the HB, put a piece of core steel or another magnet. If done correctly, the HB should stick to the door and you can chose to leave it on or take it off.
Front Guns
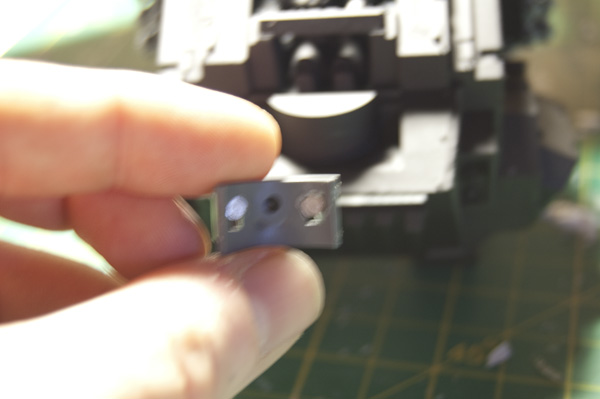
The front guns of the SR can be very tricky. Depending on your kit, you may not even need to magnetize because the pieces will just fit snuggly together. I had a single piece that was loose, so I had to magnetize the whole thing (though it was pretty easy). On the back of the plate that holds the front weapons, I drilled 2 1/8″ holes and glued in 2 1/8″ magnets.
I then trimmed down the pegs on all of the weapons (about halfway) and glued a piece of core steel on the end. You can get by with 1/16″ magnets if you don’t have core steel.
The pieces now fit snug and are easy to switch out.
The Main Turret
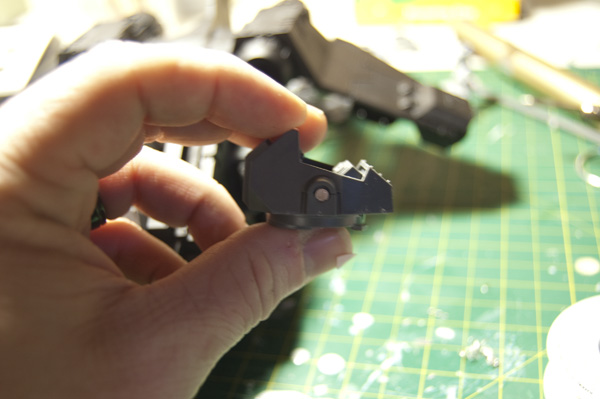
The last bit of magnetizing I did. The main turret originally looked challenging. I wanted to retain the articulate of the guns that the rod gave you. Eventually though, I stopped caring and did a basic job on it. I am happy with my decision (and I kept the rod unharmed in case I get any future bright ideas). Assemble the turret body without the rod in it, and you will notice an almost perfect 1/8″ hole. If you guessed that we are going to put a 1/8″ magnet in there, you guessed right. The weapons have a square notch in them. Without assembling the weapons (in case something goes wrong), drill a 1/8″ hole directly over the square notch (don’t go all the way through, the plastic is thick and you shouldn’t have to). Put in a 1/8″ magnet and your done!
And that’s it! You have a kick-ass Stormraven with gobs of potential. Just try not to make people cry too hard. Coming up next, I will show you how to magnetize the Furioso Dreadnought
Eye candy:
Hey there, thanks for the post!
I am finally in the process of magnetizing my SR, and this was helpful.
One question, I am having a problem finding resources for “core steel” (aka electrical steel?) in the US. Any suggestions?
(I also could not find an easy way to contact you, as you mentioned in the post).
Dave Pak
Email me at mikegeig at gmail.com. I do not know if you can buy it anywhere, but I can sell you some.
Hey man, I’m interested in core steel. Any chance you got some around still?
Hi, Where do you get core steel?