(To jump straight to the “What I Learned” section, click here)

I have recently started wanting to play more games at home (babies will do that). Not wanting to spend $40-$60 on a play mat, I (being cheap) just bought a big piece of green felt. If you buy a sheet slightly larger than 4′ x 4′, you can fold over the edges and stitch them in place. It makes for a very nice mat (for felt anyway). Terrain, however, is a different story. I bought some felt for rivers, forests, roads, etc, but it just felt a little too cheap (strange coming from my mouth). So I set out to make some nice terrain that wouldn’t break my (very small) bank. After reading several tutorials around the web, especially http://www.terrainthralls.com/, I started making my plans.

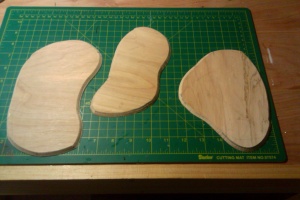
My first step was to provide something very sturdy for my terrain to sit on. I had some MDF lying around from when my wife relayed our kitchen floor (I know, how lucky am I? I mean, having some extra board…oh, and the wife thing too). I set my jigsaw to cut at a 45 degree angle and set out to make some amorphous shapes. All pics are with my cell phone.

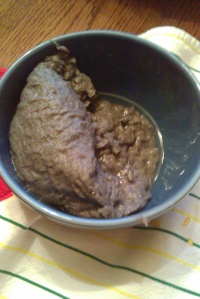
Once I sanded off any rough edges, it was time to build up some actual terrain for my terrain pieces. At this point, you have a ton of options. You can use clay, putty, rocks, foam core, or my choice paper mache. I chose paper mache because of its ease of use and relative cheapness. I had an egg carton in the fridge with only 1 egg in it (yoink!) and I have some Elmer’s glue (double yoink!) and I had everything I needed to make my mache. Recipes I found online told me to tear the egg carton into confetti (I only used the top half and had more than enough) and soak it in water over night (or a few hours). When I came back, the paper was like soggy Wheaties. I shredded it a bit more and then put it in the blender with more water (check with your wife first… learn from my mistakes). Only blend it for a few seconds. When I lifted the lid off, the mixture was so thin I thought I had obliterated the paper so bad that there was nothing left to make paper mache with. Luckily I waited a few minutes before dumping it. As the paper separated form the water, it became the perfect consistency. After straining it out, it looked something like this:

Notice the water in the bottom of the bowl? Be sure to strain it all out. The recipe told me to remove excess water, but of course I thought I knew better than the recipe. So now I am on day 2 waiting for this damn stuff to dry. Learn from my mistakes and squeeze out excess water. At this point, I mixed in a bunch of glue. I can’t tell you how much. Basically, I took the lid of the bottle and added some glue, then mixed it around. Repeat until consistency you desire. My general rule of thumb is “You can’t have too much glue.” I began adding the paste/pulp to my MDF and it built up really nicely.

The first piece I did was a “forest/natural” piece. I will later add a few trees and brush. You can see, I added a little hill and some nice natural curves.

Next was a trench piece. Mostly just a wall of “dirt” or maybe sandbags if I feel like sculpting more when this dries.

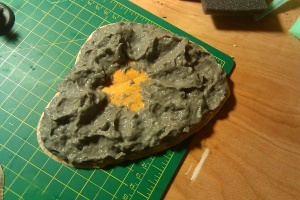
Finally, I wanted to make a blast crater. As you can see, the middle is rather bare and then blast “marks” are fanning out. The center of this will be painted black that fades into normal soil colors.

All three

After 2 days of waiting for it to dry, I got a little impatient and threw them into the oven. Set the temperature to 200, and then turned it off before putting the terrain in. I cooked them 3 times. Afterwards, the one piece was still a little wet, but oh well. I have noted 2 things that I will do better next time. The first is to definitely remove the excess water (am I stressing it enough?) and the second is to compact it more as I am sculpting it. I loosely put it on the board. The result of the above 2 things is that my mache terrain shrunk while drying and deformed a little. It is also a bit spongy now. Luckily, none of that is too bad and I can continue with this project. The next thing I did, when it was mostly dry, was to water down some Elmer’s glue and coat the entire terrain piece (board and all). Once coated, I sprinkled some kitty litter for rocks and sand for general texture. Let dry completely before continuing.

After everything dried, I put some paint down. I started with a base coat of black. This gives it some nice shadows. The next coat is a dry brushing of “Traditional Burnt Umber”. Drybrush very thickly, as it is a dark brown color to begin with. Next I did a light drybrushing of “Cinnamon Brown”. Finally, I did a very light drybrushing of “Amish Grey” on the smal stones only (All of the colors were from the cheap $1 bottles of Acrylic found at craft stores).

OK, after all of the paint dried it was time to add some static grass and call it done. For my trench, I wanted it to look like the earth was shoveled up, so there would be clumps of grass on the trench top itself.

For the crater, I tried to make the inside black, so it would look charred. I added some grass inside the crater and then brushed it black to look like burnt grass. In my opinion, it came out so-so. It is a technique I will have to work on to get better.

The last bit is my “woodland” piece. I have to be honest and say I don’t like this one at all, even though it started out as my favorite. It had unfavorable shrinking when it was drying, no direction, and a crazy amount of “over-grassing”. In the end, it just looks….eh to me.

All in all, I feel that this was a very successful first attempt at better terrain building (on the cheap). I will definitely be doing more projects to hone my skills and get more tutorials out there.

Later today (or tomorrow) I will be making a new blog post regarding what I learned during this process. Hopefully it will help me organize my notes and allow people to learn from my initial mistakes. Look for the link here when it is up.
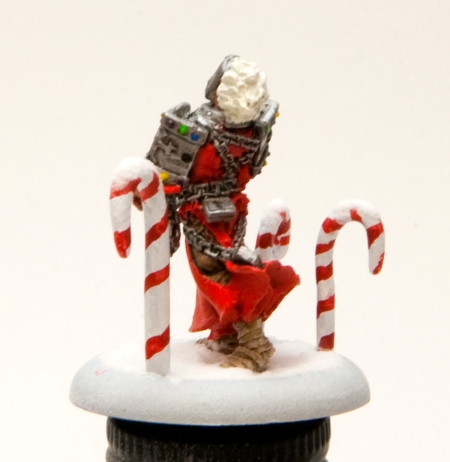
So this year the PGs are doing a christmas minitature exchange. Here is the Vassal I did for my “secret buddy”:

Merry Christmas!

I have been looking for a great way to make custom tokens for my Warmachine / Hordes armies for a while now. I have seen the GF9 Warcogs and Warclaws, and while the are very nice, they are a tad bit expensive and you are stuck with the design they give you. Not to be forced into buying anything less than exactly what I want, I decided to make my own. After seeing a post on the Privateer Press forums, I began looking around for tips on using Skrinky Dinks paper to make what I want. The paper itself (which I picked up at a local craft store) was $9.97 for 6 sheets. Be careful to buy the Shrinky Dink paper made specifically for a printer. Buying sheets of the non-printer ready stuff won’t work. Warcogs come in a pack of 26 for $11.99. So far, using 3 sheets, I was able to make close to 50 tokens. Here is how I did it:

1) Make your design on the computer. Somethings to keep in mind: Use much lighter colors than you want your final product to be. When the tokens shrink, they get about 5 shades darker. I designed the template I wanted and then added a +150% brightness layer. The end result still came out a little darker than I wanted. Also, be careful which shapes you use. During the shrinking process, the tokens will warp a little bit. This isn’t so bad if you use straight-lined shapes like squares, but circles become ovals. I decided to use circles anyway because I thought the ovals looked cool. Last thing, the tokens will shrink to about half of their current size. I made my tokens 2″ by 2″ and my fury 1.5″ by 1.5″. They came out a reasonable size for my tastes.

2) print out a sheet of your tokens onto the special Skrinky dink paper.

3) Cut out the tokens and place them on a cookie sheet. The cookie sheet has to be covered in wax paper, vellum, or parchment. Do not use foil and do not place the plastic directly on metal or else they will burn. Heat the oven to between 300 and 350 degrees and slide the cookie sheet in. It takes about 45 seconds for the token to begin to shrink. Once they have settled back down (though some may stay curved) go ahead and take the tokens out of the oven.

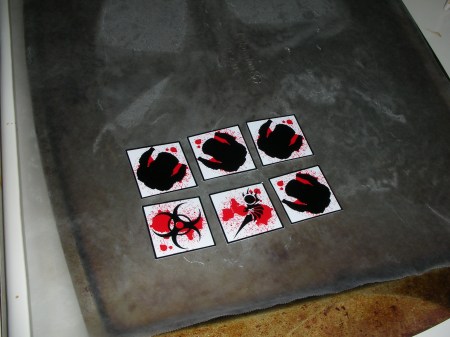
4) Quickly, using a spatula or other flat apparatus, press down on the tokens to flatten them out and prevent them from curling back up. Hold them for about 30 seconds. When you lift the spatula, you should have flat, hardened tokens. Shown below are my Legion of Everblight ”blue” tokens and my Retribution of Scyrah “Bloody” tokens.

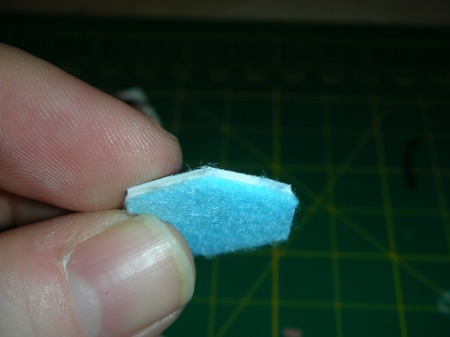
5) Now you can add any final touches. These tokens are virtually indestructible (my wife stabbed one with a knife to no avail), ut if you want you can add a gloss coat to them. The gloss coat further protects them from damage (unlikely) and gives them an ever-so-slight sheen. Nothing major, barely noticeable. Otherwise, you can get some adhering felt and line the bottom of your tokens with it. It does tend to double their thickness, but it makes then feel very smooth. Be sure to cut it precisely, or else it will look sloppy and ruin the effect.

And that’s it! Everything you need to make your own custom, awesome tokens. For added effect, print out and laminate a “legend” card so you can mark down what each token represents from one game to another. Also, unless you really want to have a ton of these things, I wouldn’t make tokens with an effects name on it. I thought about doing that, but then considered the sheer number of different effects available to an army, multiplied by the number of times they can be applied. That makes for a lot of tokens, which is why I used symbols. Anyway, enjoy!

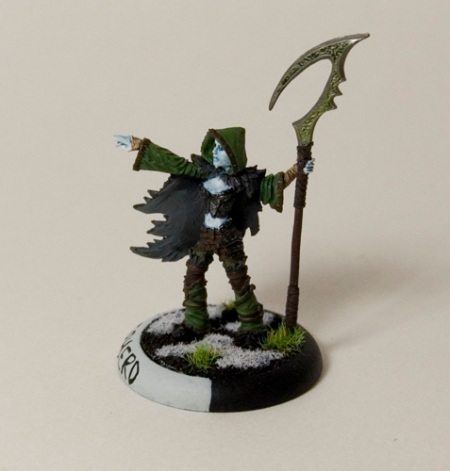
Rhyas

Posted: October 2, 2010 in Hordes, Legion of Everblight, Miniatures, Pictures

Well, I finally finished Rhyas. I think I did a good job on her, but one thing that is apparent is that without a tripod, I suck at taking pictures. I may retake them at a later date, but for now, these will do. I have attempted to adhere closely to the studio paint scheme because I really like it, though I do have troubles with the cloth coloring.

I figured I would take the time to post the pictures of my painted Legions models. Hopefully, having some online images (and hopefully some motivational comments) I will pick up the pace and get the rest of my army painted. I have a long way to go. I currently have about 2,000 points of legion and only these few models painted. It’s going to be a long road.

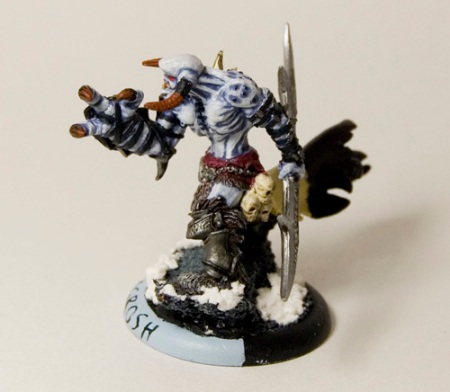
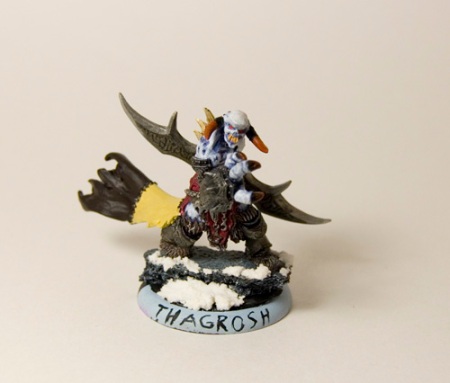
Thagrosh was my attempt to do an “awesome” and “gaunt” shading. About halfway through I got impatient though and rushed to get him finished. I see him as both being really kewl and also as a serious loss of potential

Thagrosh2Thagrosh1

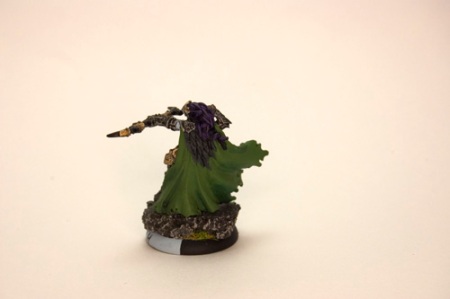
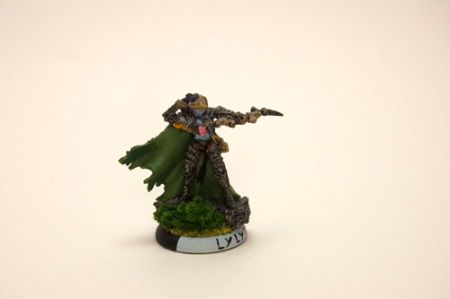
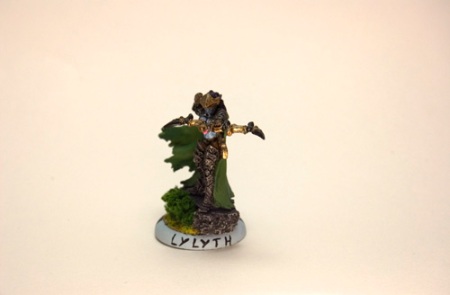
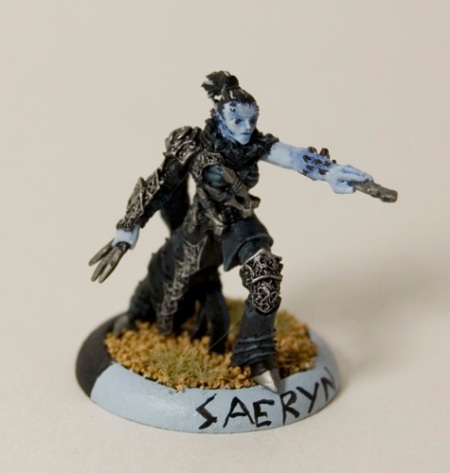
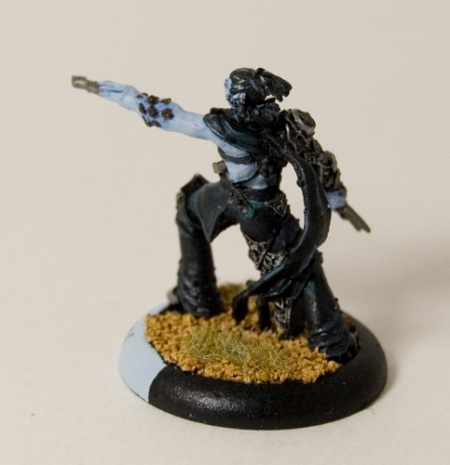
Of course, Thagrosh the Pimp would be nothign without his “hoes”, so next is Lylyth and Saeryn. Two more quick jobs on my part. Noth sure if you can see it in the picture, but I gave Lylyth a hot pink shirt with a purple heart on it.

Lylyth_3Lylyth_2Lylyth_1

Saeryn1Saeryn2

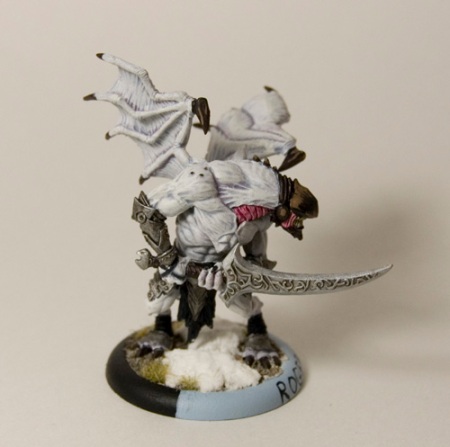
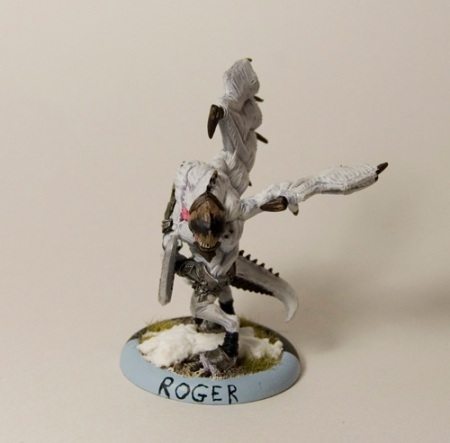
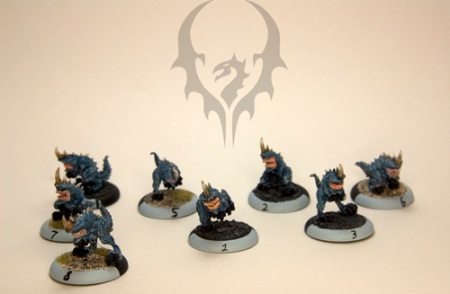
Now personally, I believe the Nephilim Soldier (Roger) is the best paint job I have done to date. It might be because it was so simple and I didn’t have a chance to get bored with it and rush something. You will notice that my Nephilim Soldier is named Roger. That is something I started doing with my “non-characters”. I started by labeling my shredders with numbers from 1 to 8. I decided that it kind of sucked for things like my two Carniveans, however, so I decided to name my beasts instead. My wife got to name my Nephilim, and thus Roger the Nephilim Soldier was born. I currently have 2 half painted Carniveans named Klaus and Panzer…

Nephilim2Nephilim1

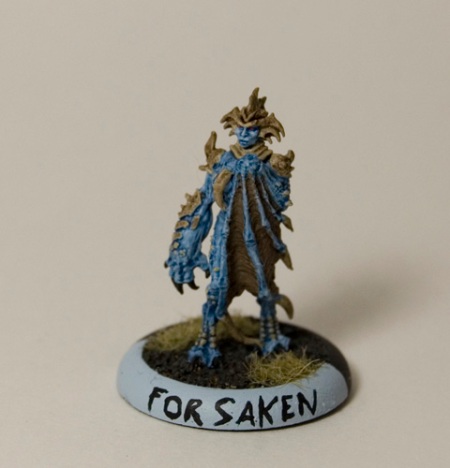
Finally, what Legion army would be complete without a Shephard, Forsaken, and a ton-o-Shredders?

ShephardForsakenShredders_group_1

Coming up soon (hopefully) will be Typhon, a couple of carniveans, and eThagrosh. We will see how long that take me :)

I have been trying to make my paint set more mobile recently. Figure I may be more motivated to paint if I can do it easily in other rooms of the house or at my LGS. Carrying the paints is easy, simply put them in a box. The paint brushes, however, proved to be more of a challenge. The problem is that I don’t care to damage the bristles of some of my more expensive brushes by just throwing them into a box. I know there are professional products to help me with this very product, so I went to my local hobby store to buy one. Turns out, they are $15! My personal policy is to never spend more than $10 on something that could not kill a person at an accelerated velocity, so spending %15 on a paint brush holder was right out the window. After taking a look around the house, I managed to make one 10x better than the one at the store… and here’s how!

Start with a couple of plastic cylinders. Any will probably do. You could also do this with think narrow boxes I would assume. I used crystal light containers (note: you could always go and buy to containers of crystal light for $1 each. Then you could enjoy a delicious beverage while doing this tutorial).

Brush Holder

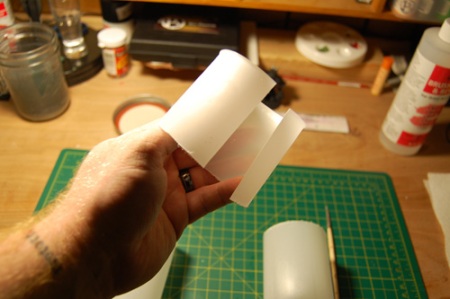
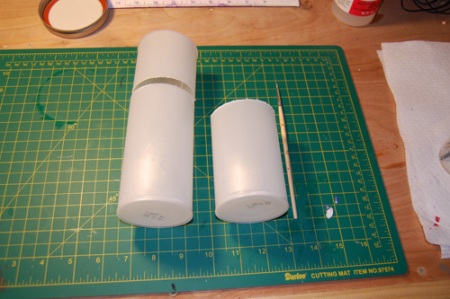
Next, strip off the label and cut the cylinders. I used a hacksaw to cut mine and it went through pretty straight and smooth. You will need to cute 3 pieces from the 2 cylinders: a short one, a slightly longer one, and a coupler.

Brush Holder 2

Cut the coupler length wise one time so that it looks like a “C”

Brush Holder 3

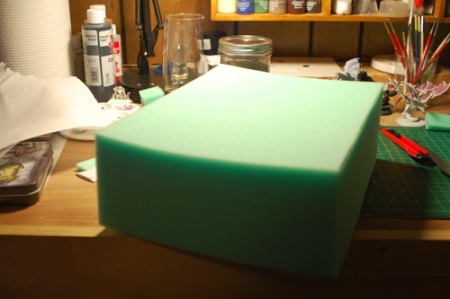
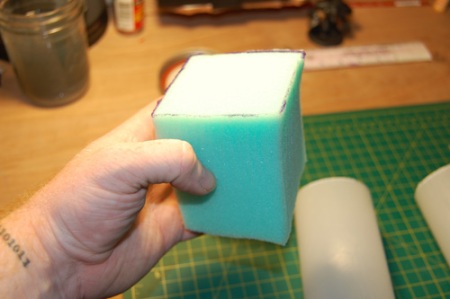
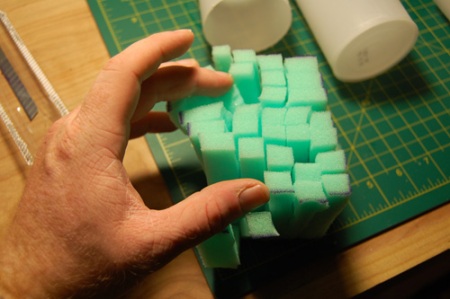
Next, grab your foam! If you followed my tray tutorial, then you should have some scrap foam lying around. I used 4″ thick foam. In this case, I used a piece of foam slightly bigger than the cylinder. That way, the foam in condensed in and will make a tight fit.

Brush Holder 4

Grab your razor and your foam and go for the “slice and dice”. Be sure not to cut all of the way through the foam. You want all of your strands still connected at the bottom. Note: Be careful not to cut your fingers, also, if the fit is too tight in the cylinder, remove some excess strands.

Brush Holder 5

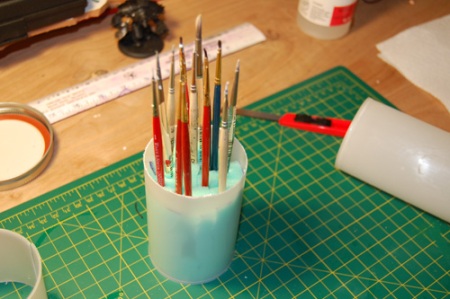
Place the foam in to the cylinder and test it out with your brushes. Make sure they fit tight and don’t move around. We don’t want to damage those bristles during transport.

Brush Holder 6

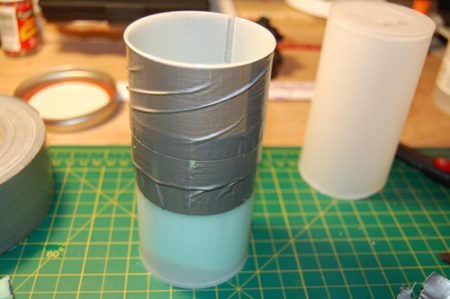
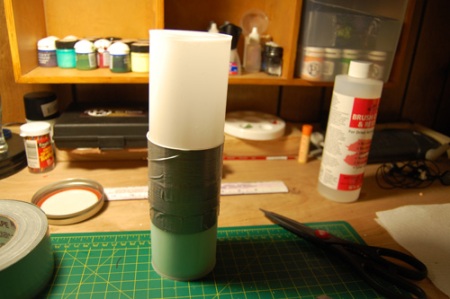
Now that we know everything fits, it is time to make a lid. Using the coupler we made ealier, attach it to the top of the cylinder so that 25% is attached and 75% is above the bottom cylinder. Normally, I would suggest using a rubber cement or other strong bonding glue. It looks nice and forms a tight bond. In my case, I wanted to get this done quickly so Duct Tape it is!!

Brush Holder 7

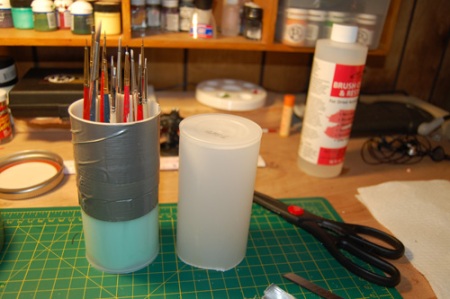
Now place the brushes back inside and try the top. It should stay on very well and form and almost air tight seal. In my case, I could toss, drop, or shake the container and the brushes stayed put and the lid didn’t even come close to budging.

Brush Holder 8

Brush Holder 9

There you have it. Not the prettiest thing in the world, but I built it for free and it took me about 15 minutes. I can probably trim the top down a bit so that it isn’t so tall, but for tonight, it does the trick.

Enjoy everyone.

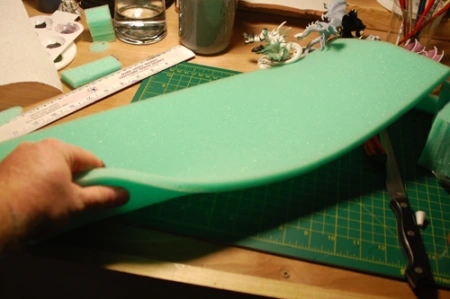
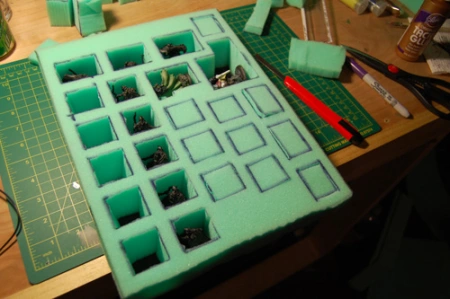
If you are anything like me (pray that you are not) then you are completely obsessed with storing and organizing your miniatures. For a while I used magnets to store my miniatures, and that worked rather well. As I accumulated more, however, I quickly lost the ability to store them safely (also, metal boxes are not cheap and are hard to find). Finally I decided to switch to foam trays. Lookign around, I found Sabol foam that works with the Army Transport cases for roughly $8.95 a sheet (in some places and some sizes, it was more). The dimensions are 7.5 x 13 x whatever. Thats a total of 97.5 square inches. Not bad! These things are also really easy to use. All you have to do is remove the foam squares and put your figures in. It would seem like that is the best option, but did I happen to mention yet that I am totally obsessed with storing and organizing my miniatures? Going to my local fabric store, I found high denisty foam (like the stuff that you use for cushions) that I could get cut into many sizes. The best part? On a normal day, this foam is half the price of the Sabol trays, and on the 50% off days, it is a quarter of the price of the Sabol trays. Looking around more at the fabric store, I found some childrens craft foam (thick and stiff foam boards) for $1.00 each. Their measurements are 9 x 12. That nets me 108 square inches. Now granted, cutting the trays yourself involves a time investment, but when you absolutely need to make the foam trays the exact size, shape, and measurements of your figures, it is worth it. Let’s look at what I spent and what I made:

  • (2) 4 x 9 x 12 trays
  • (2) 3 x 9 x 12 trays
  • (8) 2 x 9 x 12 trays
  • Price: $36

Now consider that  $36 would only buy me 4 Sabol trays, and you can see how the money really adds up. Prices vary depending on the days you go and the coupons you bring with you, but on average you should see a pretty good savings. Now on to the work. Sabol cases are very easy to work with, taking only minutes to get set up. I spent roughly 3 hours from start to finish assembling and cutting my foam. Do I think it was worth it? Hell yes. Below is a guide for you to make the trays yourself and experience a similar savings. Enjoy:
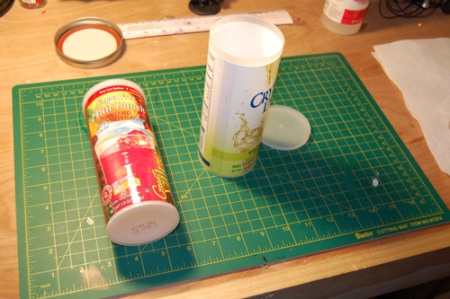
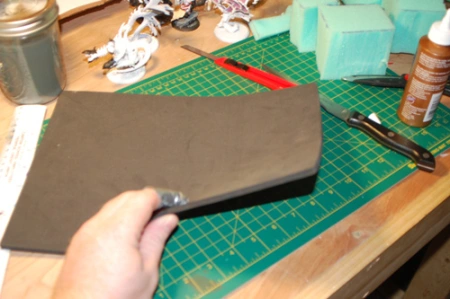
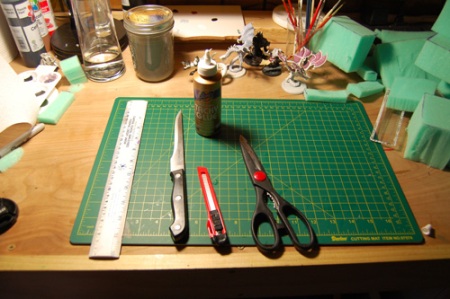
First are the materials and tools you need. In order: tray foam, base foam (1/4″), cap foam (1/4″), Razor, glue, scissors, knife

Tray 1

Tray 2

EDIT: That is duct tape on my finger. I was serious when I said mind your fingers.

Tray 3

Tray 4

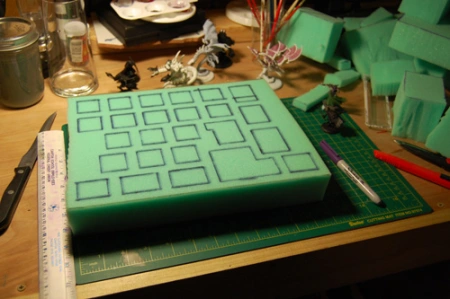
Next thing you do is layout your figures and mark the holes that you plan on cutting

Tray 5

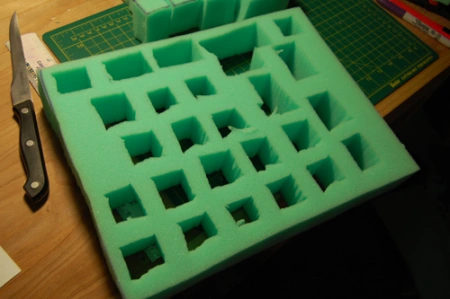
Then the fun part, the cutting! Mind your fingers (seriously)

Tray 6

Now, if you are anything like me, you can’t cut a straight line to save your life. Don’t fret, the underside might look like crap, but when you glue the base on and trim it, it will look awesome. The picture shows my crappy cutting job.

Tray 7

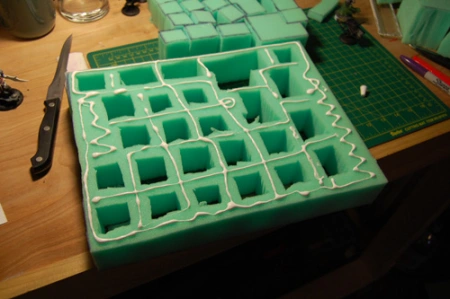
Next, lay your glue on thick, and press it down onto the foam baseboard. Put something heavy on top and give it an hour or two to dry.

Tray 8

Almost there! You will notice how I have all of the pieces of foam that I cut layed out in order up top. This is really important for putting the foam back into place for figures that need padding or for spots that are empty for the time being. Now place your figures. If the tray is too deep for the figure, cut the top off of the foam piece that fits into the figures slot and the figure will have some nice soft foam to play on in there.
Tray 9

There you go! You are all done. Simply place them into whatever case you have available and put you 1/4″ foam top sheet on to further protect them. Something I learned a long time ago that I will share with you now: make your trays about haf (if not more depending on your case) the size of the case. This way, you can make more trays for you case and swap them in and out. As it stands, I have several 8″ x 22″ foam trays I made before that I now have nothing to do with.

Thats all for my little guide. Hope you were able to make some use of this. Happy gaming.

With all of the new Grind excitement, I decided I wanted to try and make a grind ball. Now I know a ball will come with the game, but I figured in the meantime it would provide something fun to do. I knew the ball had to be metal and spikey, but besides that, I wasn’t really sure what I wanted, so I hit the internet. After a bit of searching, I found this page. This had pretty much what I wanted, ranted it was in german and I don’t speak german. Go Go Google Translate! Anyway, I made one just like the german guide showed (and subsequently didn’t take pictures of it because I forgot my camera) and took it to my LGS for some fun. Someone there mentioned how awesome they would be as mines and objectives in games too, so I set out to make 5 more of them. This time, however, I was going to do it even cheaper than my first one. To make it less expensive, substitute toothpicks for spears, leave out the snaps (they were the most expensive part of the whole project), and use cheap flat black paint instead of primer. Here is my step by step:

This is everything you need: A 3″ foam ball, some cardstock (cut into strips), White glue, toothpics, a balsa wood base, and paint (not shown)

Spike Ball 1

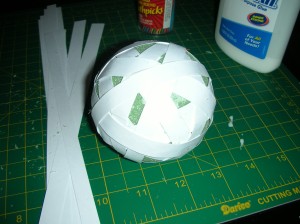
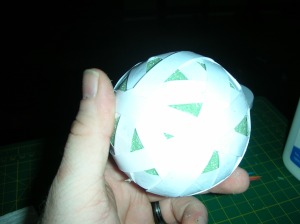
Next you glue the strips around the ball is a completely random, haphazard fashion

Spike Ball 2Spike Ball 3

After that, cut your toothpicks in half and start sticking them in

spike balls3spike balls 4

Finally, spray paint it black and dry brush it metal. This is the step you will spend the most time on (or the least time if it really doesn’t matter what it looks like). For my, I tend to build up layers and add rust and blood effects, but for now, here is the image with just a Pig Iron base

spike balls 5spike balls 7

And there you go. The original way (with the spears and snaps) really wasn’t that expensive, but if you want to even shave off the last couple of bucks, this is how to do it. I have seen them used a couple of different ways now:

  • Grind Balls
  • Mines
  • Barracades
  • Objectives (that randomnly detonate on a roll of 1)

Anyway, enjoy.

Mine Scenario

Posted: October 2, 2010 in Pictures, Terrain, Terrain Building

I finally finished a piece of terrain I have been working on for months. I got the idea for this from NQ #14 (I think). I read the battle report and terrain building article and new I had to make one myself. It ended up being a huge undertaking on my part, since I didn’t even own all the tools I would need to make it. In the end, I scrapped the idea of laying tracks, lights, and minecars, but I am still quite happy with it. It is killer fun to play on. Some of the rules we use for the board:

  • Defender deploys first when attacker isn’t looking, then places the cap on
  • Attacker goes first without knowing how the defenders are deployed
  • No flying, arcing fire, or jumping inside the cave
  • Defenders win when attacking lock/casters are dwad
  • Attacker wins when caster/lock gets to the back corner of the mine

Without further ado, some picture:

So far I have only played 1 game on it, but it is killer fun. All in all, it was a great learning experience, and not too bad for a first terrain piece.